Showing posts with label Card. Show all posts

Wednesday, May 11, 2011

Bonjour Raspberry Card


Bonjour!  This is day three of "Berry Week" here at Busy with the Cricky.  Today's card is going to make all of you non-Cricut Circle members wish that you too had joined the Circle!   I used two cartridges to create this card, Preserves for the raspberries, and French Manor, the first Cricut Circle exclusive cartridge, for the base card and lattice cuts.

French Manor has a lot of lovely European decor cuts, but also a wonderful selection of cards.  I really liked the lattice cut (above in medium pink) and was thrilled to discover that there is a lattice cut card!  I cut the base card in black and gray diamond print cardstock.  I then cut the lattice in medium pink and the lattice border in a pink print.  Using glue, I layered the pieces together.

As I stated above, the raspberries were cut using Preserves (which is perfect for Berry Week).  I cut the base layer in a hot pink cardstock, then used Copic markers to color the stems.  I cut the leaves in a lime green and again used Copics to add detail to the leaves.  And the berry tops were cut in this great pink-on-pink print.  I used a cat's eye ink around the edges of the berries before placing them on the card with pop dots.

The bonjour tag was created by layering an adhesive backed cardstock sticker to a circle of printed cardstock.  I used a hole punch and added ribbon to finish the tag.

I thought you might like to see the side view of the card.  I lined the inside of the card with white cardstock.  If I were to make this same card again, I would probably choose a light pink to line the inside of the card.

I hope you will be back tomorrow for another berry project!

Tuesday, May 10, 2011

Blueberries - Card and Fabulous Scone Recipe


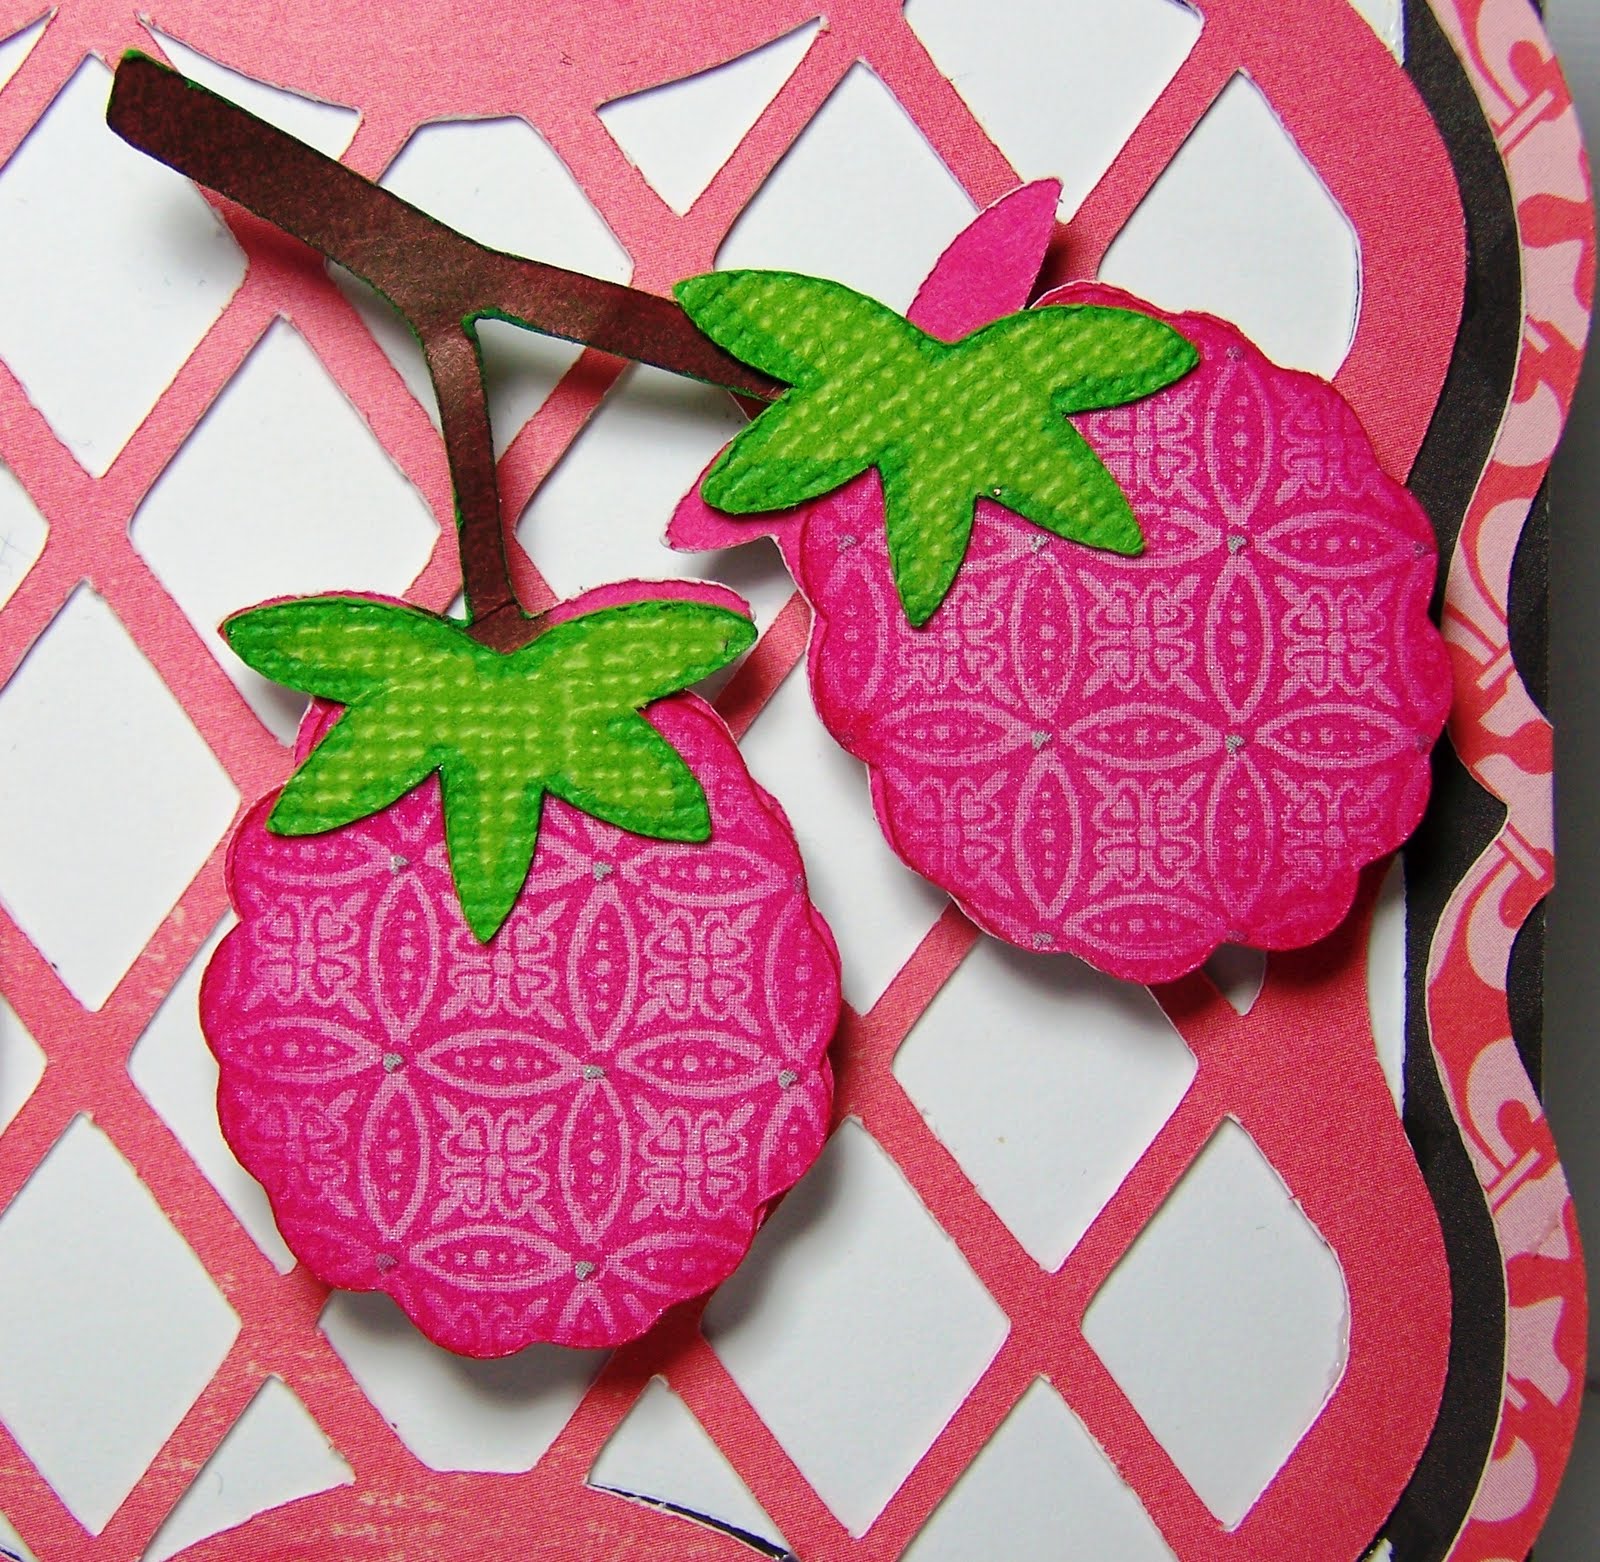
Welcome to day two of Berry Week here at Busy with the Cricky. Today's card was made using nine different colors/prints of cardstock, but only one cartridge - Preserves. Here at my house we love blueberries - my three bushes usually keep in blueberries for a few weeks midsummer. I have decided that I may need to add another bush or two so that I have enough berries to share and to freeze.


This blueberry card would be perfect for sharing a blueberry recipe with a friend, or as a general note card. As I said above, the whole card was cut with just one cartridge, Preserves. I really like the shape of the base card. I welded this shape together twice to create the shaped card. I also really like the berries. I used to top layer cuts to give my berries more of a 3D effect. The leaves were cut with two different colors of green cardstock - one highly textured and the other embossed.


I added the word blueberry to the bottom of the card, along with a blue ribbon and bow. I finished the card with blue and white flowers and some doodles.


Before I close I thought I should share our favorite Blueberry Scone recipe. I made these several times last summer and my husband can hardly wait for our blueberries to ripen this year!!


Blueberry Scones

Ingredients:

8 tbsp. (1 stick) unsalted butter, frozen whole
1½ cups (7½ oz.) fresh blueberries
½ cup whole milk
½ cup sour cream
2 cups (10 oz.) all-purpose flour, plus more for dusting the work surface
½ cup sugar, plus extra for sprinkling
2 tsp. baking powder
¼ tsp. baking soda
½ tsp. salt
1 tsp. finely grated lemon zest
2 tbsp. unsalted butter, melted

Directions:

Adjust an oven rack to middle position and preheat to 425˚ F. Grate the frozen butter on the holes of a large box grater. (I like to use my food processor for this – fast and easy.) Place the blueberries in the freezer until needed.

Whisk together the milk and sour cream in a medium bowl; refrigerate until needed. Combine the flour, ½ cup sugar, baking powder, baking soda, salt and lemon zest in a medium mixing bowl. Whisk to combine. Add the grated butter to the flour mixture and toss with fingers until thoroughly coated.

Add the milk mixture to the dry ingredients and fold with a spatula just until combined. Transfer the dough to a generously floured work surface. Dust the top of the dough with flour, and knead with well floured hands, 6-8 times, just until the dough holds together in a ragged ball. Add small amounts of flour as needed to prevent sticking.

Roll the dough into a 12-inch square. Fold the dough into thirds like a business letter (a dough scraper really helps with these steps). Fold the short ends of the dough into the center in thirds, to form an approximate 4-inch square. Transfer the dough to a plate lightly dusted with flour and chill in the freezer for 5 minutes.

Return the dough to the floured work surface and roll into an approximately 12-inch square again. Sprinkle the blueberries evenly over the surface of the dough, and gently press down so that they are slightly embedded in the dough surface. Using a dough scraper, roll the dough up to form a tight log. Lay the log seam side down and press the the log into a 12 by 4-inch rectangle. Using a sharp, floured knife, cut the rectangle crosswise into 4 equal rectangles. Cut each rectangle diagonally to form 2 triangles. Transfer to a parchment lined baking sheet.
Brush the tops of the scones with melted butter and sprinkle lightly with sugar. Bake until the tops and bottoms are golden brown, 18-25 minutes. Transfer to a wire rack and let cool at least 10 minutes before serving.

These scones are fabulous and I confess, I do not always chill everything as called for in the recipe

Wednesday, May 4, 2011

Damask Cards - Old School With No Software


I have had the new Damask Decor cartridge for several weeks now, but with all that has been going on at Provo Craft (5th Birthday Celebration, release of the E2, etc) there has not been an update for Cricut Design Studio or for the Cricut Craft Room that include this wonderful new cartridge.  After looking at the cartridge for weeks now, I decided that it was time to crack open the case and play!


I have always loved Damask fabrics and papers, so this cartridge was a given for me as soon as I first spotted it.  I decided to start with something simple so as to not overwhelm my softwareless-self.  And I will admit, I did miss the design software. 


I chose this fabulous shape from the cartridge book and decided to create two versions of this same shape.  Using hot pink, black and white cardstock I cut the shapes above and layered them together.  I cut the black decorative piece for the center, but used leftovers for card two to create the white with black print piece and green with black print piece (a green Copic also played a role here).


For card two I used black cardstock and white paper with black handwriting.  I also the same hot pink from card one and a real piece of green cardstock to create the center cuts.  In the end, I think I like card two best, but it really is tough to pick one.


I created two base cards, also cut from Damask Decor, in medium pink cardstock with a muted print top.  I finished the cards with black ribbon and brads.  I think these two will make nice "all-purpose" cards.  I could ask a nice note or stamp a sweet sentiment inside. 

I cannot wait for the DS or CCR updates to include the latest cartridges.  I have an idea for a layout using Damask Decor, but it will require software manipulation.

Thanks for stopping by today.  With any luck I will be back tomorrow with another new project.  In the mean time, I am working on theme week posts for next week!

Wednesday, April 20, 2011

Over the Moon with Nursery Rhymes


Hey Diddle Diddle, the cat and the fiddle, the cow jumped over the moon.  The dog laughed to see such a sight and the dish ran away with the spoon!   I always liked that nursery rhyme - the laughing dog and the dish and spoon running away always made smile.  Imagine my excitement when I discovered the Over the Moon cut on the Nursery Rhyme cartridge.


I discovered the images back when I first purchased the cartridge but I waited until I needed a baby card to finally cut this image.  My friend Pat has a new baby granddaughter - in fact Pat is spending time with her right now.  But I still want to send Pat a card to be there when she arrives home. 

The cow over the moon image contains two layers - the top and shadow layers.  I cut the shadow in pink, but I cut the top layer in two colors, yellow and chocolate brown.  I trimmed the cow off of the brown moon and glued him over the yellow moon.  Easy, easy to add extra color to the image.


I used a lot of pink and brown on this card - and I love that large dot background on the front of the card.  Though I have to tell you, on a creepy scale of 1 - 10, I may have to give the spoon a 7!  Seriously, this spoon just bothers me a bit - that is why I stuck him inside the card, LOL.


Here is one last look at the card front.  I just love the moon cut.   I also really like the stars on the phrase cut, Over the Moon.  And let's be honest, my friend Pat is probably over the moon with her new granddaughter!!

Monday, April 18, 2011

Aloha Monday with BBTB2


It's an Aloha Monday with BBTB2!  My very talented design team sister, Karen, selected this week's Bitten by the Bug 2 cut - the pineapple on Wall Decor.  Since I do not own Wall Decor I had to select another pineapple from a different cartridge.  You would be surprised how many pineapples there are on various Cricut cartridges!  I selected this fun pineapple from Serenade!


Because I associate pineapples with "welcome" I decided to make a "Welcome to the neighborhood" card (hoping the house two doors down may sell soon).  I designed the card in Cricut Design Studio utilizing all three layers of the pineapple cut.  The bottom layer is a bright, fun yellow, the middle layer is a medium green, and the top layers are orange and lime green.  

I used the diamond embossing folder on the orange layer (top layer) of the pineapple.  I also used a rust colored Copic marker and did a bit of random coloring on the pineapple.  I added thin lines and amber colored gemstones.  I finished the card with the word "welcome" as well as icicle Stickles accents on the medium green areas.


The embellishment cuts are from Life's a Beach.  I thought my pineapple needed a bit of dressing up.  I layered two paper flowers together and added the lemon cut atop the flowers.  I added a fun circle sticker, mini flowers, and gems to dress up the lemon slice.


The base card was created by welding two mirror images of the base pineapples together at their tops.  I used scissors to snip away a couple of over hanging leaf tips.  Once the card was attached to the back of the pineapple, the card opens at the midpoint.


Today is your last chance to enter the awesome giveaway by The Original Scrapbox.  Go back to last Wednesday's post and read the instructions on entering.  I will be drawing a winner of this fabulous Giant Cutting Mat at midnight tonight.  And that's not all...... 

The winner from my blog will join nine other winners in a final drawing for this FABULOUS SEWING BOX!!!  Rachelle will be announcing the final winner on her blog on Friday!  Go back to THIS POST and enter.  The winner could be YOU!


Monday, April 11, 2011

BBTB2 Easter Egg Challenge


Happy Bitten by the Bug 2 Monday!  This week's challenge cut was selected by my design team sister, the lovely Krista.  Krista selected any Easter egg cut from the Easter 2010 cartridge - or if you do not have Easter 2010, as some design team members did not, any Easter egg from any cartridge will work.

I have the Easter 2010 cartridge - and I love it.  The eggs on this cartridge are so pretty and there are so many other fun Easter cuts.  I chose the floral cut out egg for my project.

I started by creating a basic egg shaped card, using Design Studio to weld two eggs together.  I then sized the scalloped egg background cut, the floral front cut and decorative inside eggs to fit the base card.


As I assembled the layers of the card, I added green inserts behind the leaves, lavender strips behind the small dots, and purple cardstock behind the large flower cut out.  I added white and brown doodles and pink flowers with pearl centers and green leaves.


Using the same floral egg cut, I created additional pages in the cut file to cut eggs for the Easter egg tree.  I made the eggs double sided since many can be seen from both sides.   I added the Easter 2010 eggs and sparkling eggs both to the tree and placed it in my entry way.


This is a look at the upper tier of the Easter egg tree.  And below is a final look at my BBTB2 Easter egg card.  Be sure to go by Bitten by the Bug 2 and check out the great projects the design team made this week.  Also please do play along on the challenge - you can post your project in the Mr. Linky at BBTB2.

I will be back tomorrow with another new project to share, and later in the week we will begin a new contest!!!

Wednesday, April 6, 2011

Easter Silhouette Card


Have I told you that I love the Martha Stewart Seasonal Art Cake Cartridge?  I really, really like this cartridge a lot, though I have not used it once for cake making!!  It has a lovely font and art work for every major holiday. 

Purple is not a color I work with often - and there is a reason.   Short story, I once had to do an entire scrapbook in a purple palette.  It wore me out on purple for quite a while.  :D


My daughter told me told me that the bunnies are creepy!  What?  Creep?  No way.  But yes, apparently the clothing on the bunnies that makes them creepy.  And of course my husband agreed with her, only he claims the creepy parts are the eyes.  Everyone's a critic!!  But okay, I probably should not have drawn in eyes....... Or the ears......?

My favorite part of the card is the background paper.  I like all of those Easter eggs.  In fact, I liked them so well that I cut out six of them to use the in the silhouette basket and the bunnies'  hands. 


The flower embellishement was created by layering two large white flowers with two lavender flowers and topping them with a crocheted flower and button. 


I stamped the inside of the card with a stamp I picked up at Hobby Lobby last year. 

This probably is not my best card every - I think it is curse of the purple.  After that purple scrapbook, purple and I just do not work well together!! 

Tuesday, April 5, 2011

Cricut Craft Room - First Project


If you read my blog last Saturday you may remember that I was having a difficult time with printing and cutting on my Imagine in the Cricut Craft Room.  Well... now having actually READ the information on the Craft Room, I discovered that it was a ID-10-T error (idiot) - the Imagine is not yet linked to the Craft Room.  Duhh.  So sheepishly I went back to the CR and selected Cricut Expression as my machine and VOILA! It worked wonderfully well!  I cannot wait to link up my Imagine also.


I used Lacy Labels exclusively to create this card.  The base card was created by welding two of the same shape together and was then cut in a double sided cardstock.  I then cut two toppers, in the same shape, in a dark brown cardstock and a reverse of the base card cardstock.  Finally I cut the branch with bird cut and the word Bliss.

After using my ATG gun to assemble all of the large pieces I got out some Copic markers and attacked the foliage branch and the word Bliss.  First I added two different greens to the leaves and then tan to the branches.  I finished the branch with a thin brown marker, adding dots and dashes to highlight random stem areas and leaves.  I used both green and blue markers on the work Bliss, and finished the word with white ink dots.  I chose to leave the bird solid cream so that the stark simplicity would pop off of the card. 


Before I affixed the branch to the base card I found a little bag of goodies that I received in the goody bag swap at the Cricut Circle Crop in Atlanta.  The package contained the great aqua colored trim and two coordinating buttons.  I attached the trim to the branch and then, adding two brown flowers, I sewed the buttons onto the branch sides.

I finished the card by adding an aqua-ish flower behind the bird to frame him.

I think you are all going to love the Cricut Craft Room when it goes public later in the month.  To me it takes the best parts of Gypsy and Design Studio and combines them into a great piece of software.  Oh, and for those like me that love DS but HATE the tiny images - the images are bigger too!!!  Woo-hoo!!!


Monday, April 4, 2011

Mother's Day 2010 Phrase Challenge


Happy Bitten by the Bug 2 Monday!  This week we are jumping ahead into mid spring with the Mother's Day 2010 Cartridge.  My sweet Design Team sister, Lori, chose this week's challenge cut - any phrase from the MD2010 cartridge.  I selected the word "Mom" as that is what I call my mother.


Using Cricut Design Studio, I cut "Mom" in two layers - the icon cut and the shadow.  The top layer (icon) was cut in a subtle print pretty pink; the shadow was cut in an aqua blue cardstock (though in the photo above the cardstock appears more blue than aqua).  I glued the cuts on a Bo Bunny oval, also cut with MD2010, and the corresponding base layer.

I used a dark cream cardstock and cut the top layer of matting, added scallops and tiny circles to create a semi-lace edge.  This was matted on an aqua blue rectangle, which was then matted on a lime green rectangle.  And finally all of the layers were matted on a smooth white cardstock card.


I embellished the card with white and brown pen dots and something new - Cuttlebug Quill Daisies.  When I attended the Cricut Circle Crop in Atlanta a month ago one of the two purchases I made was this great set of Cuttlebug plates to create daisies.  Provo Craft has come out with three sets:  Daisy, Chrysanthemum, and Carnation.  I trusted my table mate, Madge, to select a set for me.  And she chose well as I love this Daisy set.


The quill sets are very easy to use - I may do a video later to show you how wonderfully easy this flowers cut and go together.  You cut the pieces using the dies in your Cuttlebug.  Then using the quilling tool you wrap the three layers one at a time, smallest to largest, to create this awesome flowers!!  Easy - easy!


I completed my card by adding a rectangle of the dark cream cardstock and a rectangle of the lime green cardstock to the inside of the card, along with a pink strip.  I used two different circle punches and punched four flowers from the Bo Bunny print used on the front to create flower embellishments.  I the used dark brown ink and stamped a Mother's Day sentiment.  I colored the flower and edge of the oval with Copic markers.


I will back with some fun new projects this week - cards, a layout and hopefully I will find time to make a video using the Cuttlebug Quill flowers.
Related Posts Plugin for WordPress, Blogger...